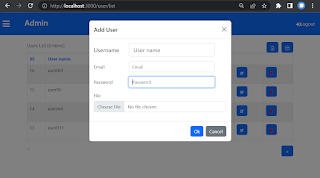
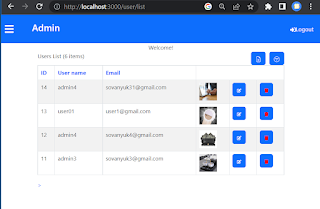
Sequelize is a Node based - Object Relational Mapper. It makes you easy to work with a database engine such as MYSQL, PostgreSQL, MongoDB. etc. You can create data models in NextJs and let Sequelize synchronizes them with MYSQL database. From the models, you are able to retrieve, insert, update, and delete data in the database.
To Work with MYSQL database using Sequelize, you have to install the following dependencies: sequelize, sequelize-cli, and mysql2.
From the project folder (nestjs-app), execute the following command:
npm install sequelize sequelize-cli mysql2
sequelize helps us synchronize models with Mysql database.
sequelize-cli is the Sequelize Command Line Interface helps us create models, migrations, and database.
mysql2 is a fast mysql driver to work with mysql database from NestJs.
In the project folder, create and change to db folder. From the db folder, run the following command to initialize sequelize:
npx sequelize-cli init
The command creates config, migrations, models, and seeders folders in the db folder. Update the config/config.json file to your mysql database information:
{
"development": {
"username": "user",
"password": "password",
"database": "datbase_name",
"host": "127.0.0.1",
"dialect": "mysql"
},
"test": {
"username": "user",
"password": "password",
"database": "datbase_name",
"host": "127.0.0.1",
"dialect": "mysql"
},
"production": {
"username": "user",
"password": "password",
"database": "datbase_name",
"host": "127.0.0.1",
"dialect": "mysql"
}
}
From the db folder, execute the below command to create the database:
npx sequelize-cli db:create
Then, execute the following command to create a User model and migration with firstName, lastName, username, email, and password fields. The id, createdAt, and updatedAt fields will be created by default.
npx sequelize-cli model:generate --name User --attributes firstName:string,lastName:string,username:string,email:string,password:string
models/user.js
'use strict';
const {
Model
} = require('sequelize');
module.exports = (sequelize, DataTypes) => {
class User extends Model {
/**
* Helper method for defining associations.
* This method is not a part of Sequelize lifecycle.
* The `models/index` file will call this method automatically.
*/
static associate(models) {
// define association here
}
}
User.init({
firstName: DataTypes.STRING,
lastName: DataTypes.STRING,
username: DataTypes.STRING,
email: DataTypes.STRING,
password: DataTypes.STRING
}, {
sequelize,
modelName: 'User',
});
return User;
};
migrations/<timestamp>-create-user.js
'use strict';
/** @type {import('sequelize-cli').Migration} */
module.exports = {
async up(queryInterface, Sequelize) {
await queryInterface.createTable('Users', {
id: {
allowNull: false,
autoIncrement: true,
primaryKey: true,
type: Sequelize.INTEGER
},
firstName: {
type: Sequelize.STRING
},
lastName: {
type: Sequelize.STRING
},
username: {
type: Sequelize.STRING
},
email: {
type: Sequelize.STRING
},
password: {
type: Sequelize.STRING
},
createdAt: {
type: Sequelize.DATE
},
updatedAt: {
type: Sequelize.DATE
}
});
},
async down(queryInterface, Sequelize) {
await queryInterface.dropTable('Users');
}
};
To create
users table in the database, issue the following command:
npx sequelize-cli db:migrate
In the real project, you may find it necessary to add new column or modify an existing column of a table. For example, let add photo column to the users table.
Create another migration file by executing the following command:
npx sequelize-cli migration:generate --name AddColPhoto
Update the migration file to the following:
'use strict';
/** @type {import('sequelize-cli').Migration} */
module.exports = {
async up (queryInterface, Sequelize) {
* Add altering commands here.*/
return queryInterface.addColumn(
'users', // table
'photo', // new column to add
Sequelize.STRING // data type
);
},
async down (queryInterface, Sequelize) {
/*Add reverting commands here.*/
return queryInterface.removeColumn(
'users',
'photo'
);
}
};
Run npx sequelize-cli db:migrate to update change to the database. If you want to revert the task (remove photo column), execute the command npx sequelize-cli db:migrate:undo.


Comments
Post a Comment